Bloomreach Engage
Bloomreach Engage (formerly Exponea) is a powerful CDP with omni-channel orchestration. Like many other CDPs, Bloomreach relies on third parties for message delivery. Omnivery provides native support for the Bloomreach API, making integration quick and simple.
Preparing your domain
To set up your integration in Bloomreach, you will need to get your API key for your sending domain from the Omnivery UI.
If you have not set up your domain yet, please do so by following our domain setup guide first.
Start by selecting the domain you want to use with Bloomreach from the top navigation or Domain list item in the left menu.
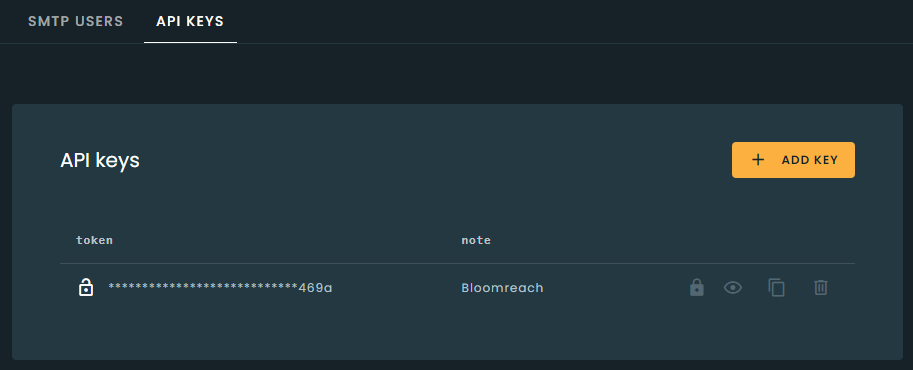
Once you have selected the domain, navigate to the Credentials menu and click API Keys at the top. It is highly recommended to create a new API key by clicking the Add Key button, even if you already have existing keys set up for your domain. This will allow you to have separate keys for individual integrations if you use your domain with multiple applications.
Make sure to add a description for the key to make it easier to identify how each key is being used.
Next, make sure your domain has only Email tracking enabled and all other types of tracking are disabled. This is important because Bloomreach creates its own tracking links and adds an open tracking pixel.
Open and click tracking
The Bloomreach platform handles open and click tracking for your messages. The domain settings for open and click tracking will have no effect on messages sent using the native Bloomreach integration.
Setting up the integration
Now that you have created an API key for Bloomreach, make sure to note it down or copy it to the clipboard for later use by clicking the copy to clipboard icon.
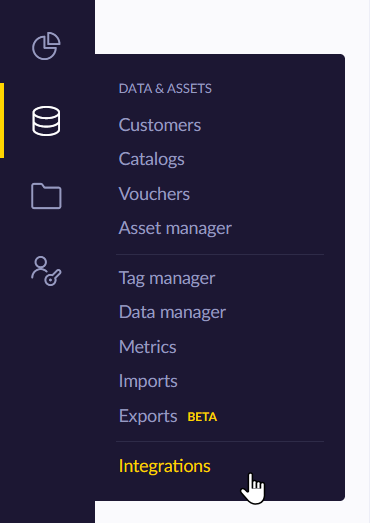
Next, you can log in to your Bloomreach account and navigate to Data & Assets and select the Integrations menu item.
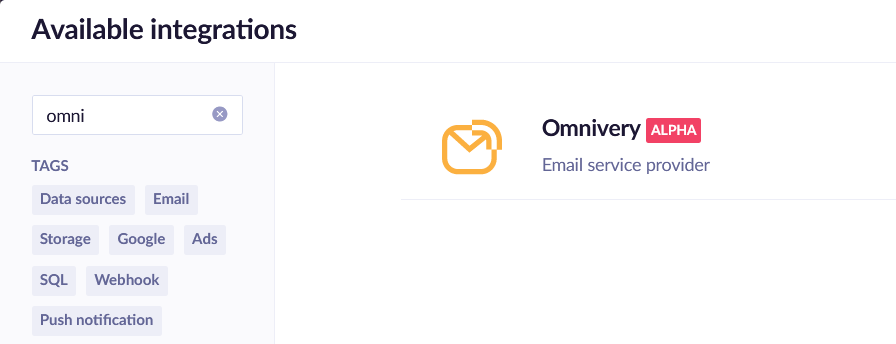
Click the Add new integration button in the top right corner. This will open a new dialog listing available integrations. You can easily find the Omnivery integration using the search field.
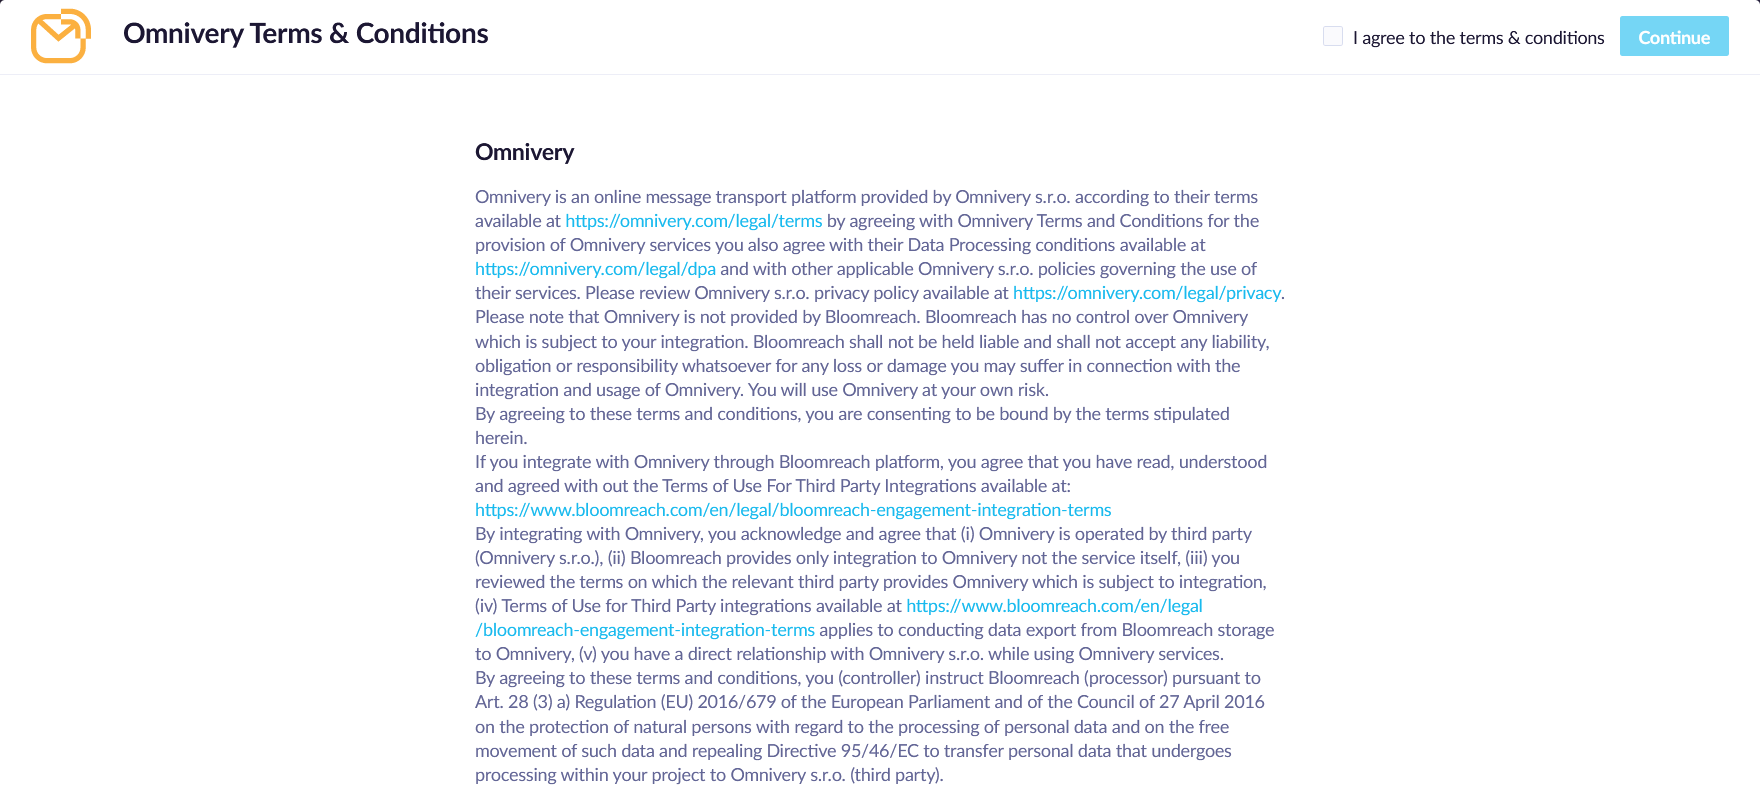
In the next step, you will be asked to agree to the terms and conditions of the integration by checking the checkbox in the top-right corner of the dialog and clicking the Continue button.
Once confirmed, you will be asked to enter the sending domain name and API key. Make sure you enter the exact sending domain name as set up in Omnivery and the API key you created. This is where pasting the value from the clipboard will come in handy.

Watch Out!
Keep in mind that the email sender address MUST be in the same domain space as the sending domain you set up earlier. Read our domain setup recommendations page.
Using the integration
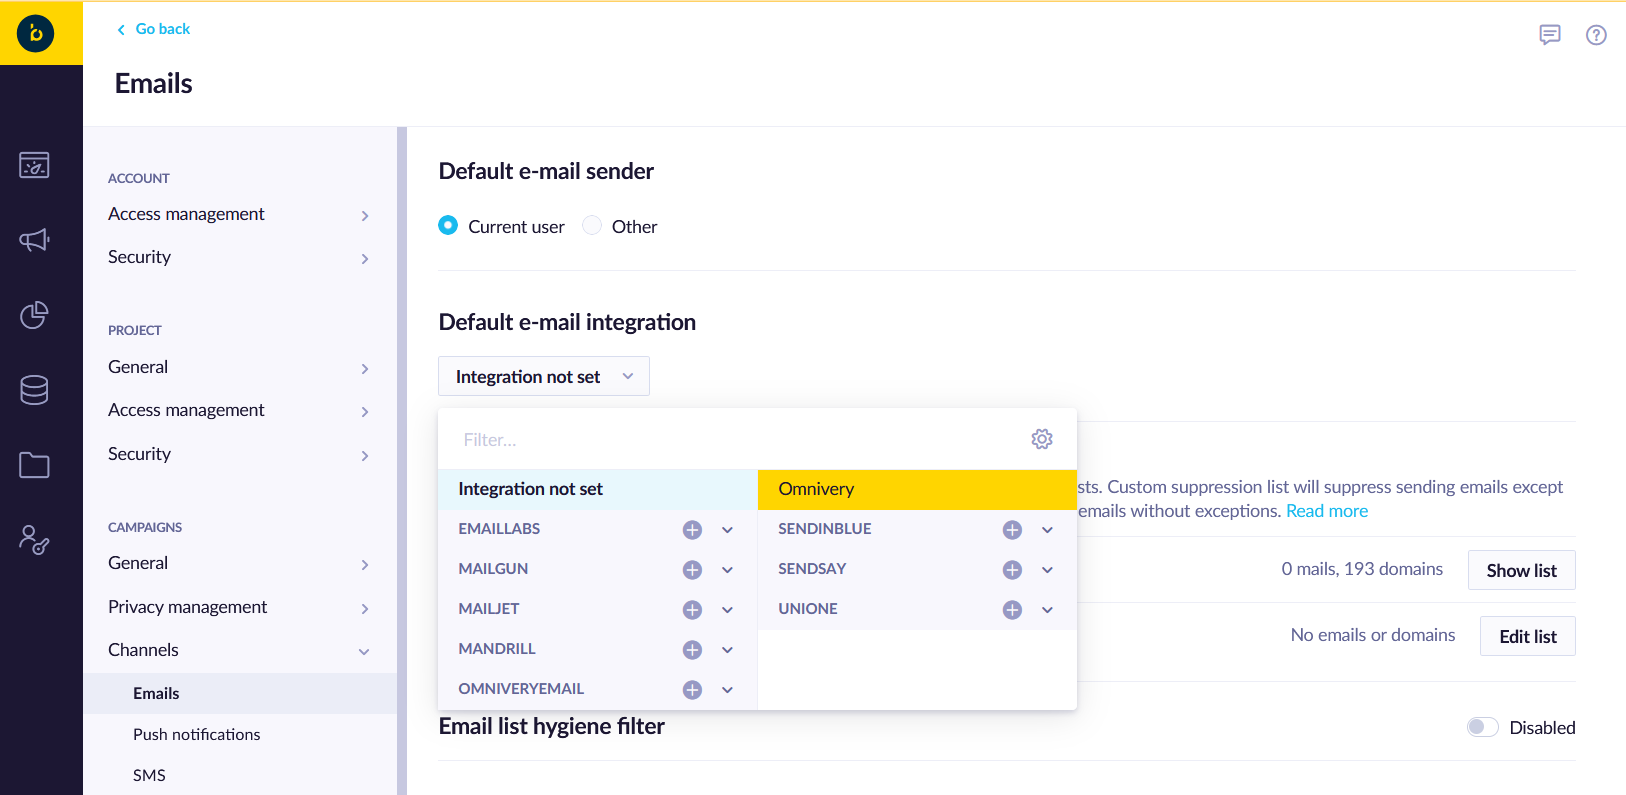
To make your life easier, you should set your default email integration. Go to Settings, expand Channels, and select Email. Here you can set the default integration. We also recommend setting the default email sender to a specific address, such as news@mydomain.com, rather than using your username as a sender email address.
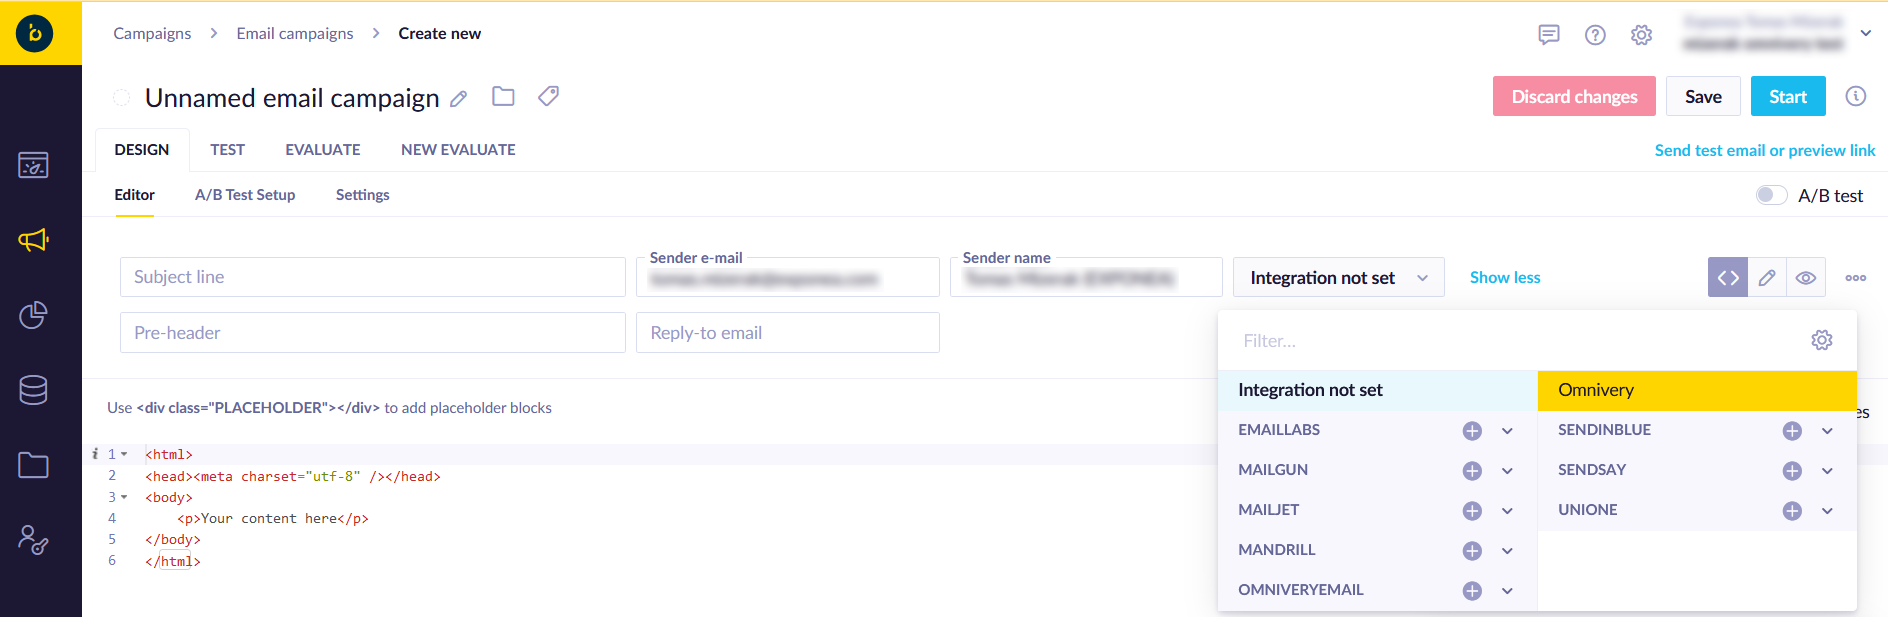
Bloomreach allows you to use different email integrations for different purposes. This is especially important when you use Bloomreach to send transactional campaigns (for example, order confirmations, shopping cart reminders, etc.), as those need to be sent using a separate sending domain with different settings. You can set a custom integration for each individual campaign in the campaign settings.
While the above settings will cover most of the necessary steps, there are additional settings to consider in the campaign setup. You should always make sure the Use bulk settings option is checked for all your marketing email campaigns and unchecked for transactional campaigns.
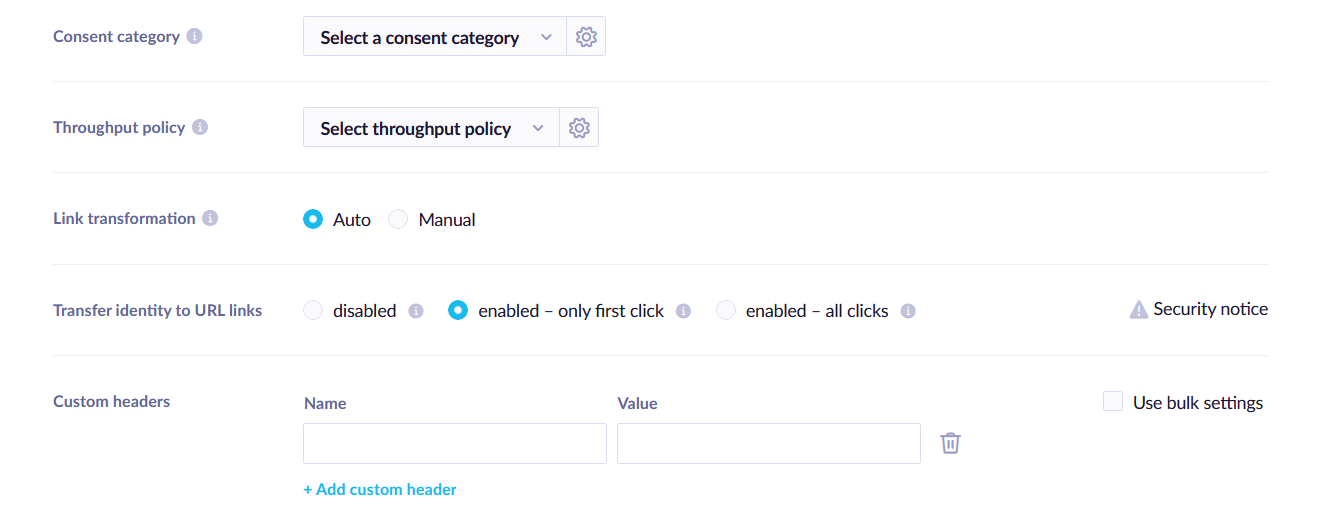
Alternatively, you may use custom headers to adjust your campaign settings to match best practices. Here are some examples of custom headers you may consider adding:
| Name | Value | Campaign type | Description |
|---|---|---|---|
| Precedence | Bulk | Marketing | The Precedence header is required by most mailbox providers to properly indicate bulk (marketing) messages. Omitting this header will impact your reputation and deliverability. This header will be automatically added when Use bulk settings is checked. |
| List-Unsubscribe | <mailto:> or <https://> | Marketing | List-Unsubscribe is a required header used to facilitate the opt-out option in the MUA (Mail User-Agent, for example, Apple Mail, Gmail, etc.). The value must contain either an email, URL, or both where opt-out requests will be sent. This header will be automatically added when Use bulk settings is checked. |
| Message-Category | bulk/newsletter | Marketing | The Message-Category header helps receivers better classify messages from trusted senders. |
| transaction/commercial | Transactional | Indicates a message related to a commercial transaction, such as an order or shipping updates. | |
| transaction/optin-request | Transactional | Indicates an opt-in confirmation message sent based on the recipient's intent to subscribe to receive emails. | |
| transaction/password | Transactional | Indicates a message related to a password update, confirmation, or reset. | |
| transaction/other | Transactional | Indicates another type of transactional message. |
Omnivery ensures that all outbound emails comply with the latest standards and best practices. It will automatically add mandatory headers if they are not present.
Before you start sending
Unless you are a first-time Bloomreach customer with no sending history, it is likely that you have relied on their default Mailgun integration for your sends. It is important to migrate your suppressions and other settings from Mailgun before sending. Please follow the instructions in our Domain migration guide or contact your Bloomreach support specialist for assistance.
Make sure to disable all webhooks pointing to Bloomreach/Exponea once the migration is complete. Omnivery uses the native Bloomreach API, which does not use preset webhook URLs.
Comments
Add a comment